> For the complete documentation index, see [llms.txt](https://docs.quickreply.ai/llms.txt). Markdown versions of documentation pages are available by appending `.md` to page URLs; this page is available as [Markdown](https://docs.quickreply.ai/product-modules/campaigns/how-to-edit-a-drip-campaign.md).
# How to Edit a Drip Campaign
## **Navigate to the Campaigns Dashboard**
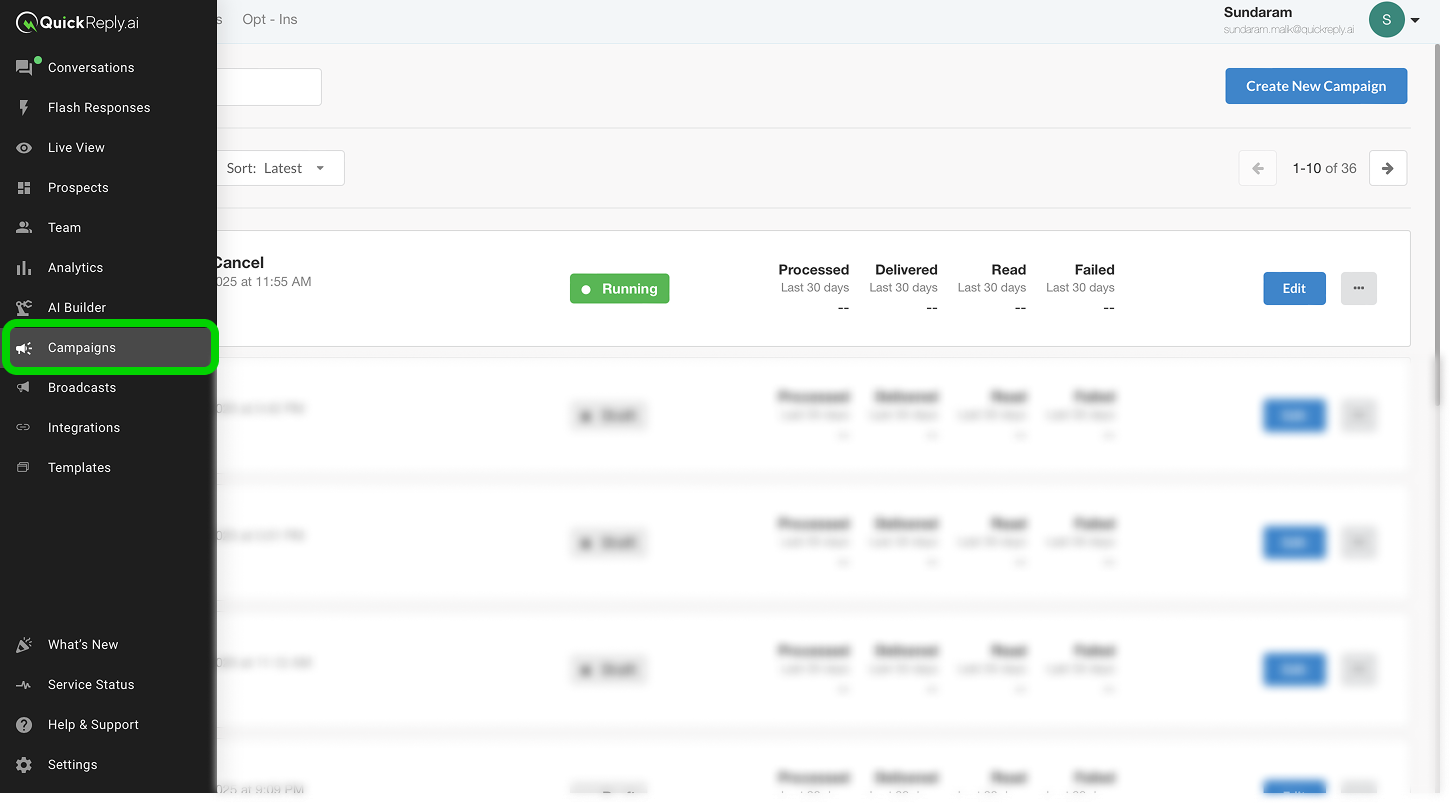
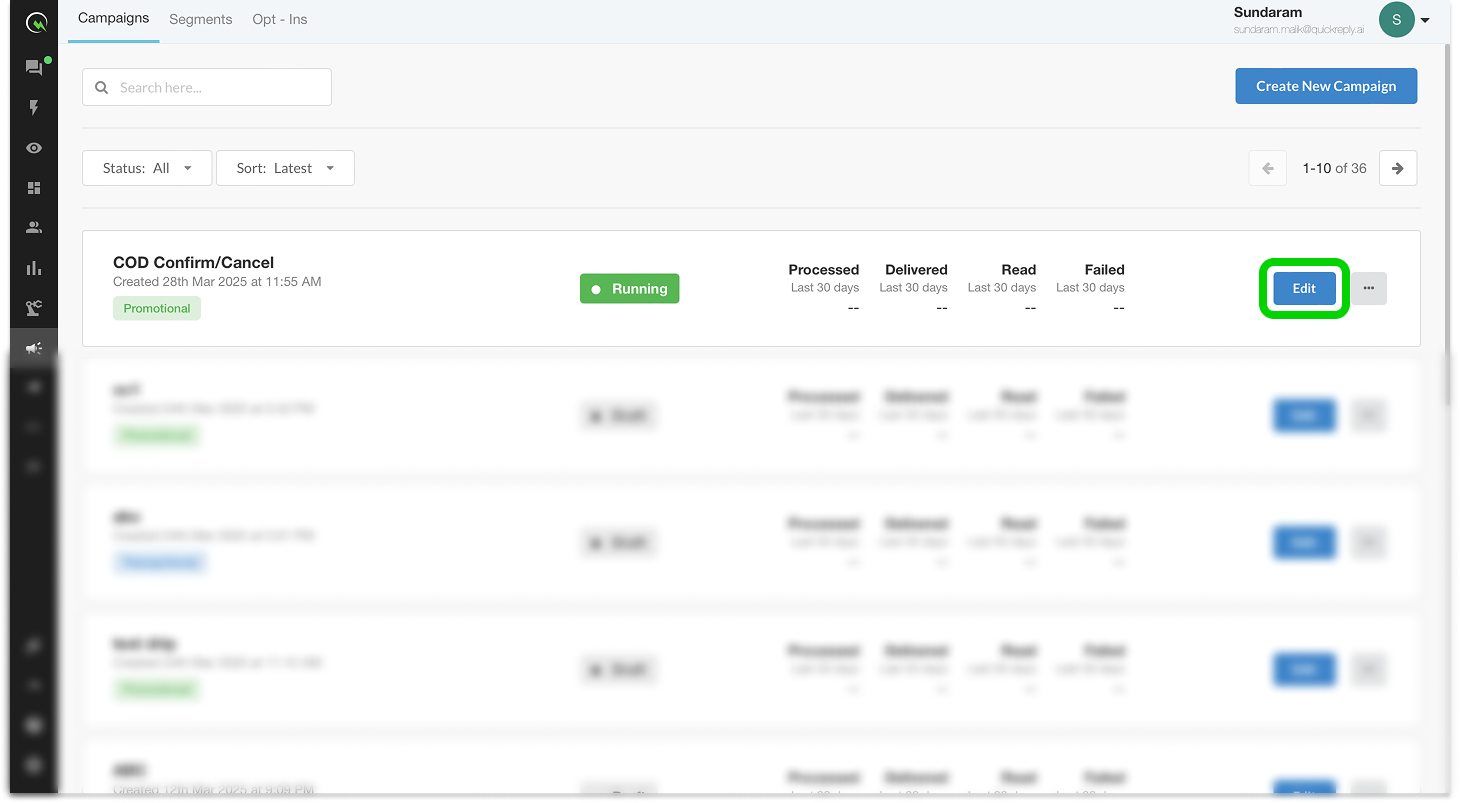
In the **Campaigns** section on the QuickReply App, scroll through your campaign list or use filters to search by name, status, etc.
## **Open the Campaign for Editing**
Click on the **Edit** button next to the campaign you want to modify.
## **Modify Steps**
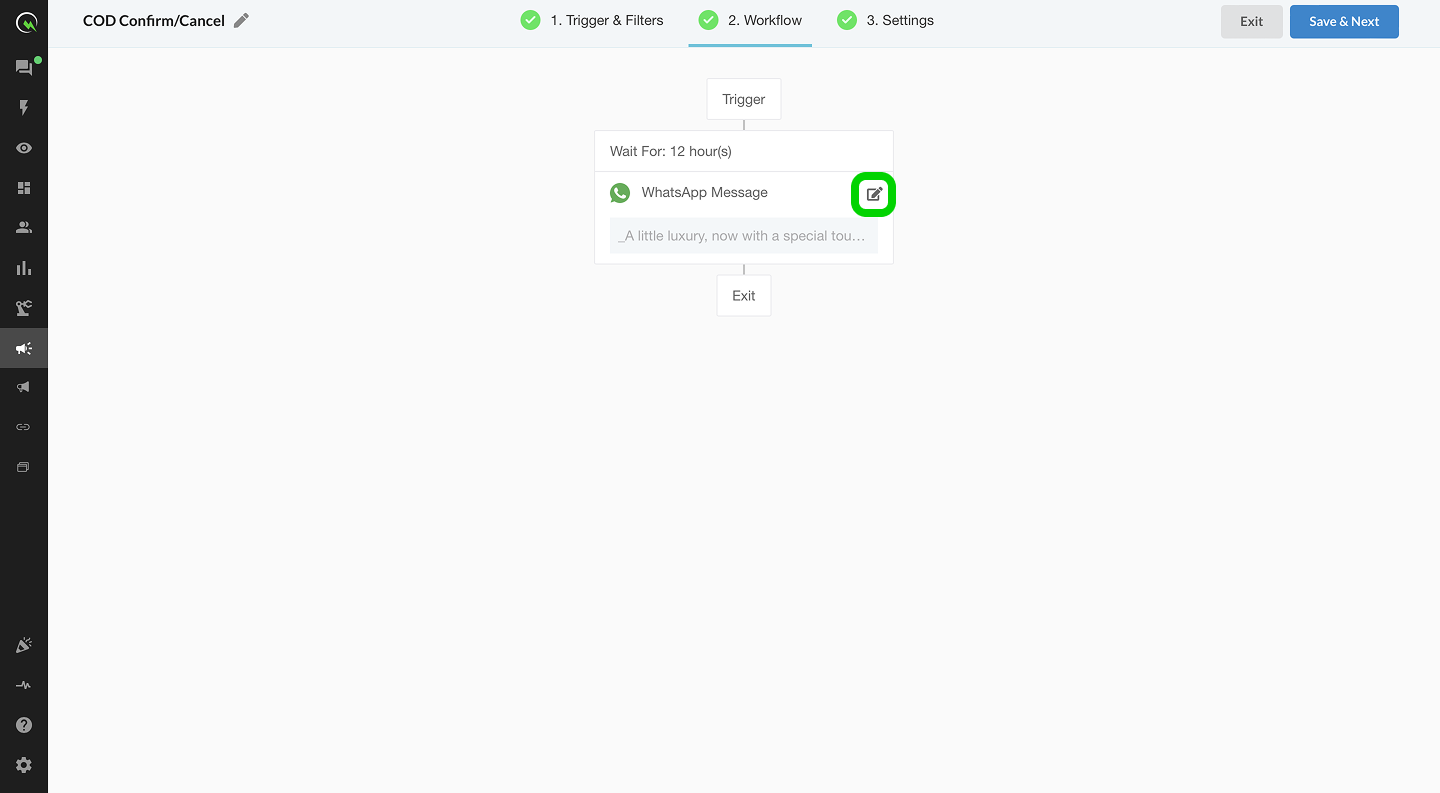
* You can adjust the **workflow steps**, delays, or bot mappings.
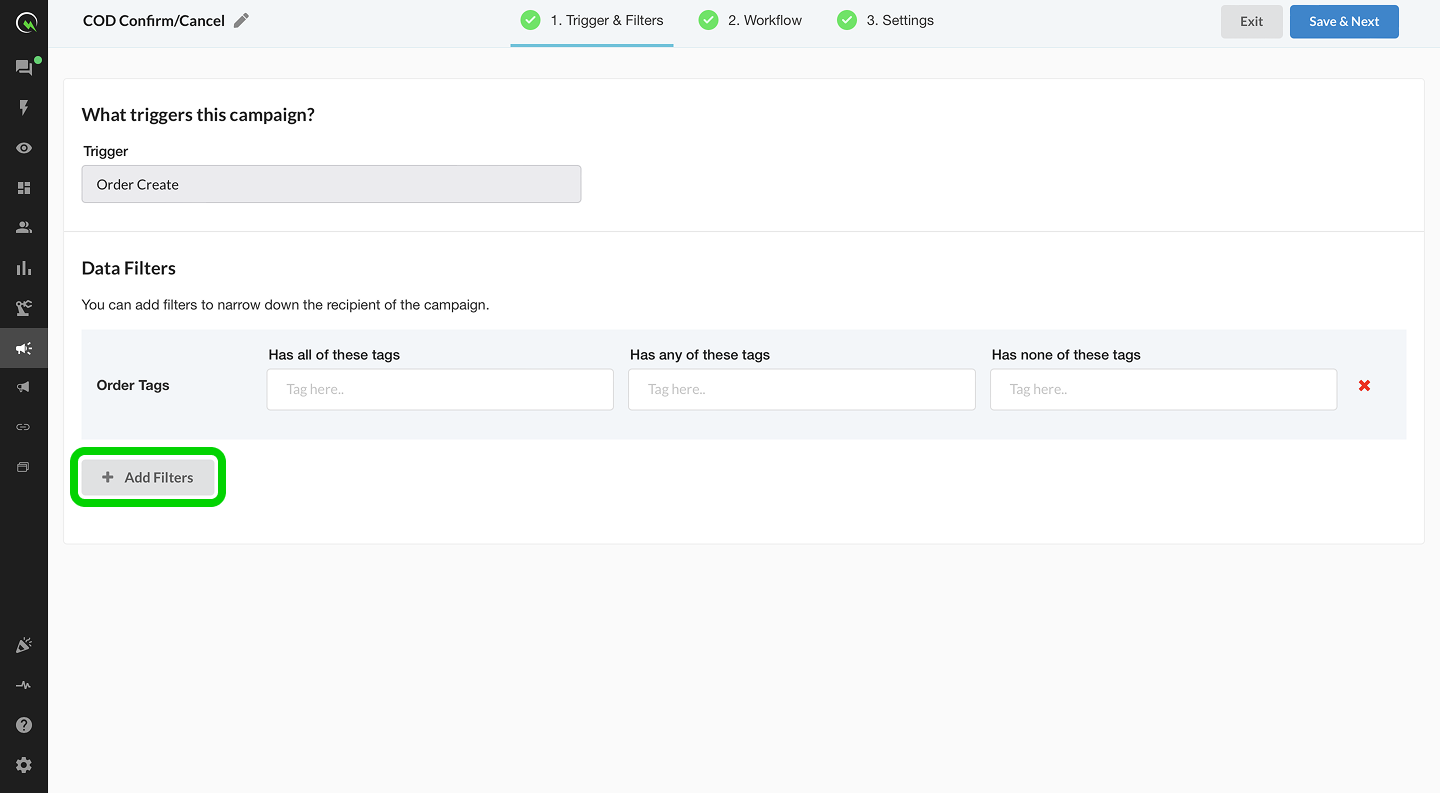
* Data filters can also be changed, but the Campaign Trigger remains permanent.
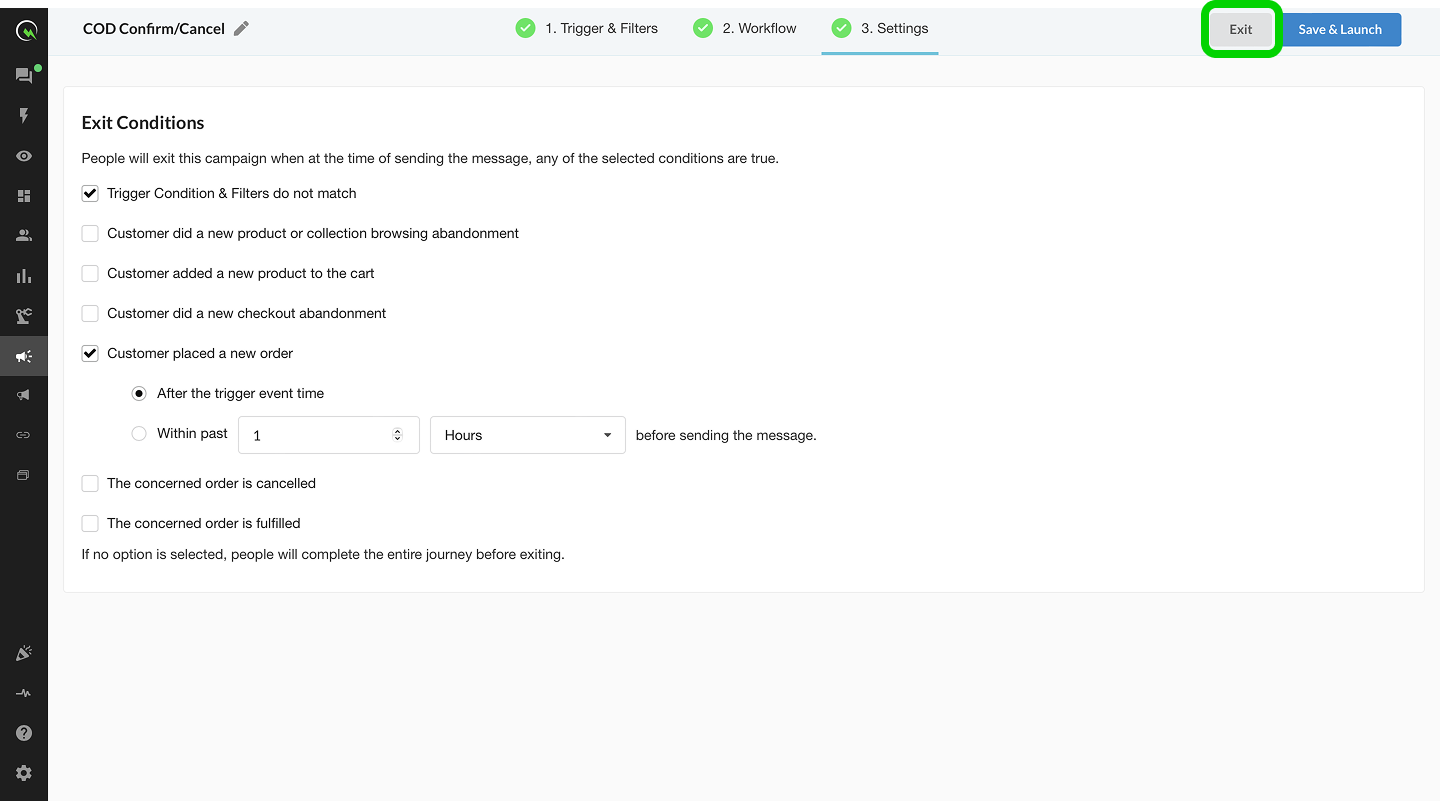
* Exit rules can be updated at any time.
## **Save and Launch the Campaign**
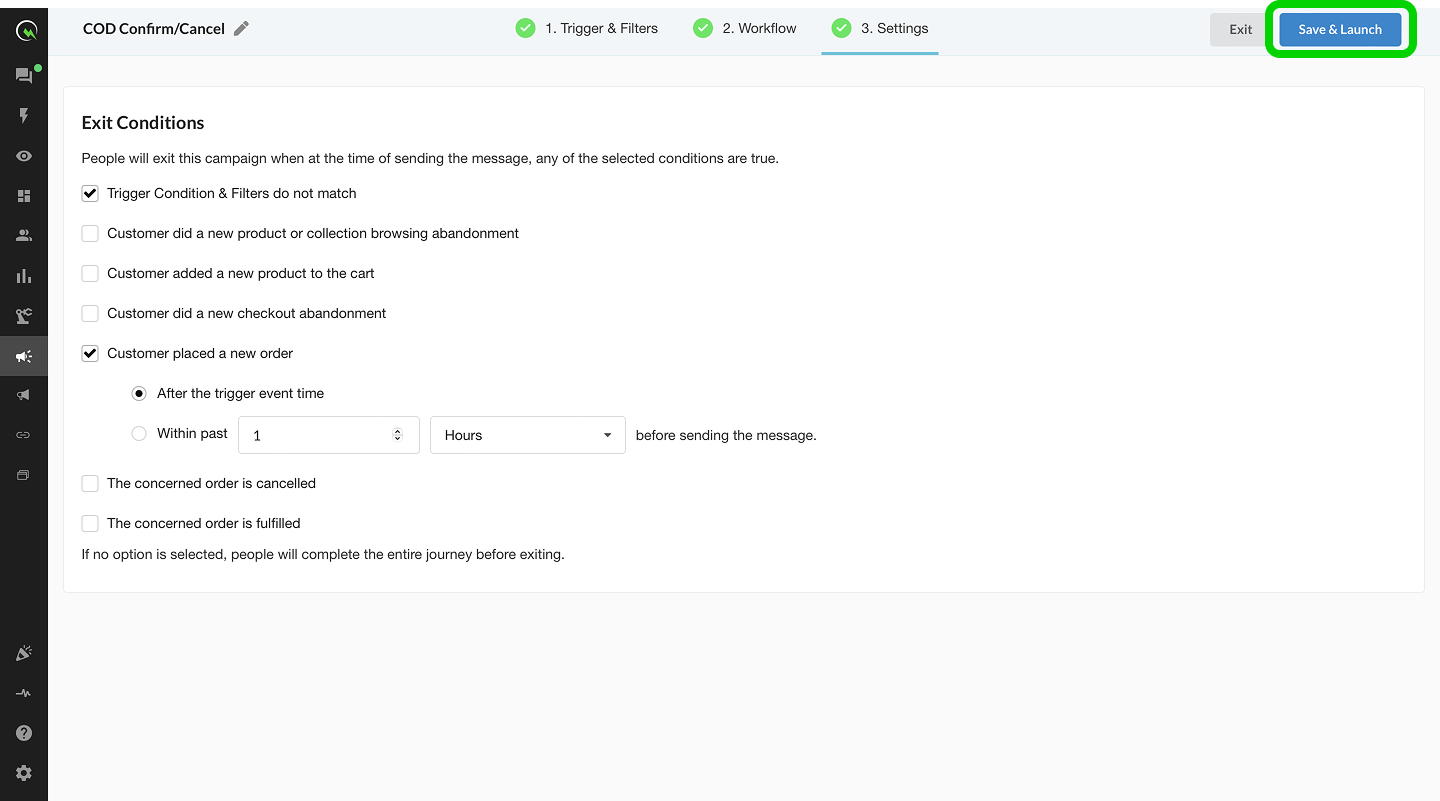
After editing, click **Save & Launch** to publish the campaign with applied changes.